Mash Not Bubbling? Top 5 Reasons Your Moonshine Fermentation Stalled
Key Takeaways
- Temperature fluctuations are the most common cause of stalled moonshine fermentation, with ideal ranges between 65-75°F (18-24°C) for most distiller’s yeasts.
- pH imbalance can halt fermentation activity – aim for the sweet spot between 4.0-5.5 for optimal yeast performance.
- Nutrient deficiency often occurs in high-sugar washes, leaving your yeast starving without the nitrogen and minerals needed to complete fermentation.
- Many home distillers underestimate the importance of proper yeast selection, with some strains only tolerating alcohol levels of 10-12% while others can handle up to 18-20%.
- Infections and contamination can outcompete your yeast and create off-flavors or completely stall your fermentation.
There’s nothing more frustrating than peeking at your fermentation bucket only to discover the cheerful bubbling has gone silent. One day your mash was happily churning away, and the next—nothing. Understanding why your moonshine fermentation stalled is the first step to rescuing your batch and preventing future disappointments.
As a dedicated home distiller who’s seen every fermentation problem imaginable, I can tell you that a stalled fermentation doesn’t always mean a ruined batch. With the right diagnosis and intervention, many stuck fermentations can be revived. The key is identifying the root cause quickly and applying the proper fix before your yeast gives up completely.
Your Mash Has Stopped Bubbling: What’s Happening in Your Fermentation Bucket
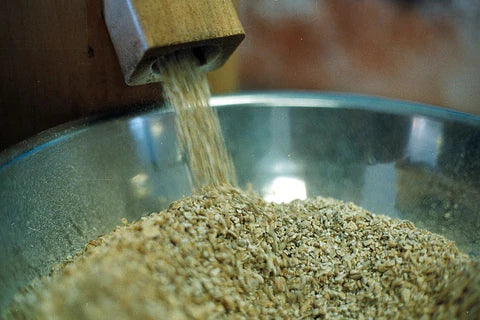
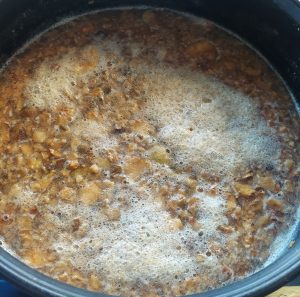
“Basic Moonshine Mash Recipe” from www.whiskeystillpro.com and used with no modifications.
When fermentation stops prematurely, your yeast has essentially gone on strike. This work stoppage means sugar isn’t being converted to alcohol, and your potential moonshine is stuck in limbo. The only reliable way to confirm a stuck fermentation is by taking hydrometer readings. If your gravity readings remain unchanged for 2-3 days and are significantly higher than your expected final gravity, you’ve got a genuine stall on your hands—not just a slow-down.
Many moonshiners make the mistake of relying solely on airlock activity to gauge fermentation. Remember that a quiet airlock doesn’t necessarily mean fermentation has stopped completely, and likewise, some bubbling might continue even after fermentation is complete due to temperature changes or CO₂ being released from solution. Your hydrometer is your most trustworthy tool here.
Let’s examine the five most common culprits behind a stalled moonshine fermentation and how to address each one.
1. Temperature Problems Have Shut Down Your Yeast
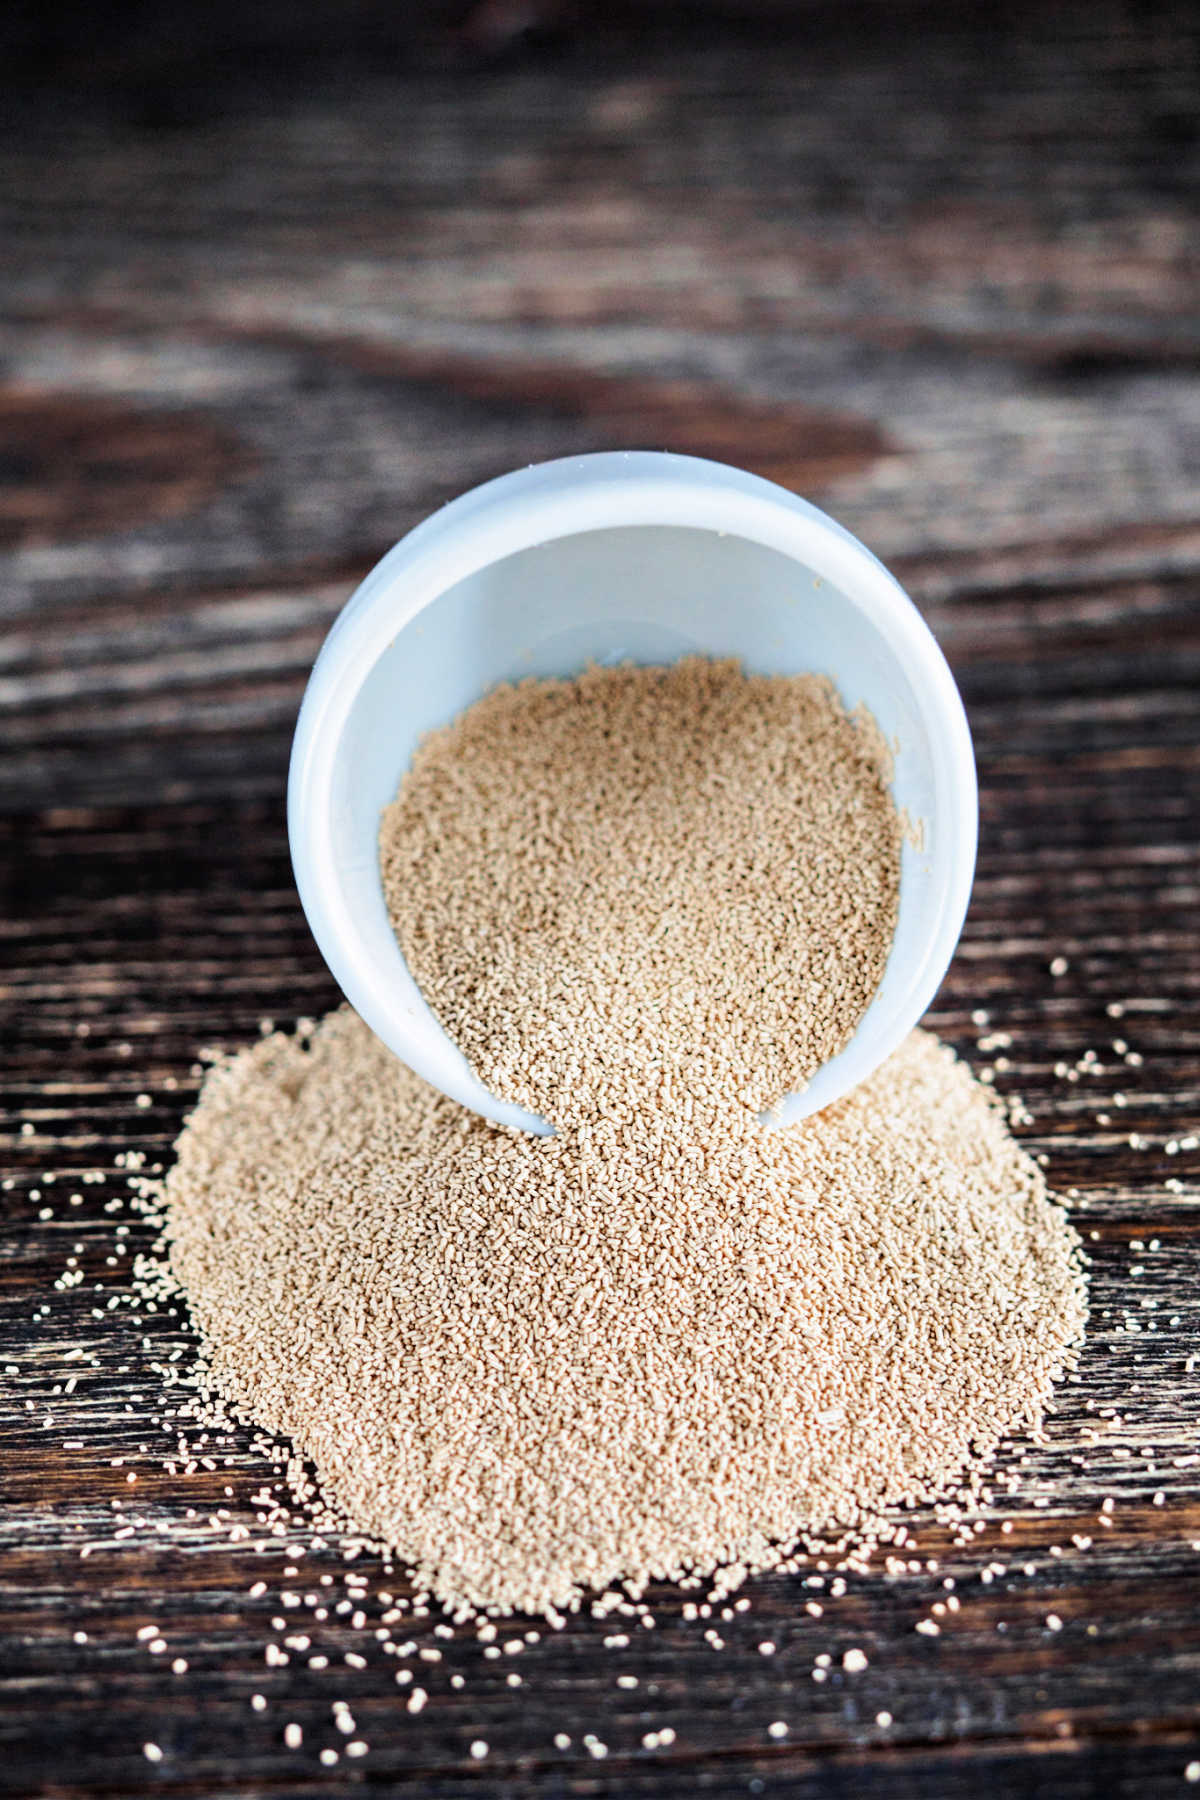
“What Does Yeast Do In Bread Baking …” from pastrychefonline.com and used with no modifications.
Temperature issues are the number one reason fermentations stall. Yeast are living organisms with specific comfort zones, and when temperatures fall outside their preferred range, they respond by slowing down or shutting down entirely. Maintaining consistent, appropriate temperatures throughout fermentation is critical for converting all available sugars to alcohol.
Fluctuating temperatures are particularly problematic. Your yeast might begin fermentation energetically in warm daytime temperatures only to be shocked into dormancy when temperatures drop at night. This temperature cycling stresses yeast and often leads to permanently stalled fermentations that are difficult to restart.
Too Cold: Yeast Hibernation Explained
When temperatures drop below 65°F (18°C), most distiller’s yeasts begin to slow dramatically. The yeast doesn’t die—it hibernates. This metabolic slowdown means sugar consumption grinds to a halt, leaving your fermentation incomplete. Cold-stressed yeast also becomes more susceptible to alcohol toxicity, meaning it might never wake up properly even if temperatures rise again.
The typical signs of cold-inhibited fermentation include unusually slow activity from the start, fermentation that begins normally but slows dramatically overnight, and a sweet-tasting mash that hasn’t reached its expected final gravity. Some strains are more cold-sensitive than others, with turbo yeasts generally being more temperature-dependent than traditional bread or wine yeasts.

Too Hot: How Heat Kills Active Fermentation
High temperatures are even more dangerous to your fermentation than cold. When temperatures exceed 90°F (32°C), yeast begins producing unwanted fusel alcohols that create harsh flavors in your final product. Push temperatures above 105°F (40°C), and you’ll begin killing your yeast outright. If you’re dealing with a stuck beer fermentation, understanding temperature control is crucial.
Heat-damaged fermentations often show these warning signs:
- Extremely vigorous initial fermentation followed by a sudden complete stop
- Strong banana, solvent, or “hot” alcohol aromas
- Significantly higher temperatures in the fermentation vessel compared to the ambient room temperature
- Unexpectedly high final gravity readings despite aggressive early fermentation
Large fermenters are particularly susceptible to overheating because yeast generates heat as it works. A 15-gallon fermenter can easily become 10-15°F warmer in its center than the surrounding air temperature during peak fermentation.
Quick Fix: How to Safely Adjust Mash Temperature
Rescuing a temperature-stalled fermentation requires gentle intervention. If your mash is too cold, move it to a warmer location, wrap the fermenter in a blanket, or use a heating pad set to low. Aim to raise the temperature no faster than 5°F per day to avoid shocking your yeast further. For overheated fermentations, move to a cooler location and consider placing the fermenter in a water bath to draw heat away gradually.
Never attempt to cool an overheated mash by adding ice directly to the fermenter. This introduces contamination risks and can shock your yeast with sudden temperature changes. Instead, focus on controlling the ambient temperature around your fermenter.
2. Your Mash pH Is Outside the Sweet Spot
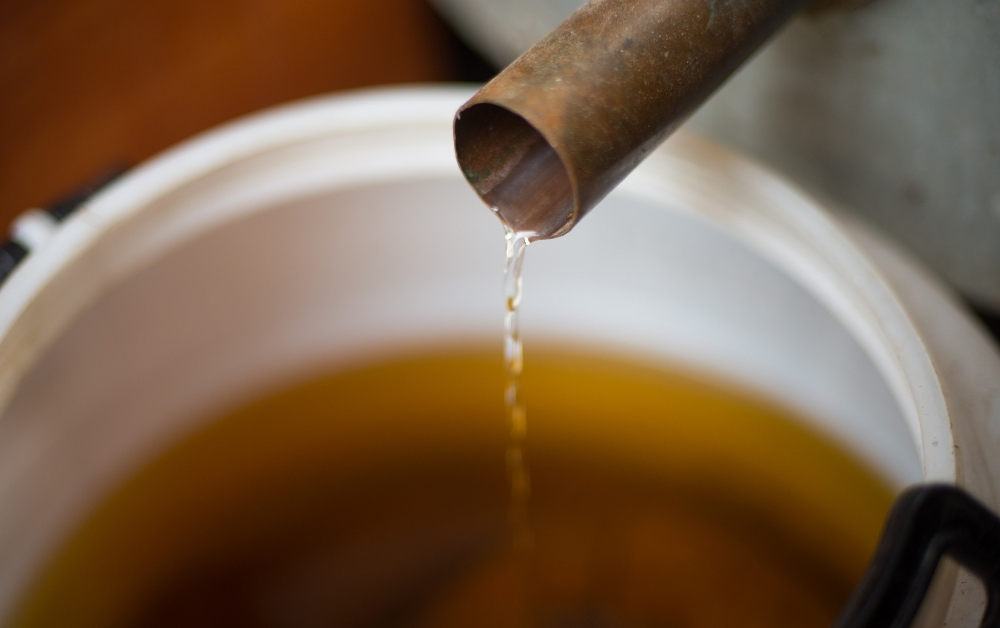
“How To Make A Simple Mash For Moonshine …” from moonshine.farmhouse-bc.com and used with no modifications.
pH might be invisible to the naked eye, but it’s critically important to successful fermentation. Yeast performs best in a slightly acidic environment, with optimal pH levels between 4.0 and 5.5. When pH drifts too far in either direction, fermentation efficiency plummets, often leading to a complete stall.
Many home distillers overlook pH management entirely, assuming that fermentation will “take care of itself.” While yeast does naturally acidify the mash as it works, starting with the wrong pH or using ingredients that resist acidification can create problems that yeast can’t overcome on its own.
Ideal pH Range for Moonshine Fermentation
The sweet spot for moonshine fermentation pH depends somewhat on your base ingredients. For corn mashes, aim for an initial pH between 5.2-5.8, expecting it to drop to around 4.0-4.5 during active fermentation. Sugar washes should start slightly more acidic, around 4.5-5.0, as they lack the natural buffering capacity of grain mashes.
Different yeast strains have slightly different pH preferences, but most distiller’s yeasts perform best when pH settles around 4.2-4.8 during the most active phase of fermentation. Falling outside this range doesn’t immediately kill fermentation, but it does create stress that makes your yeast more vulnerable to other problems like alcohol toxicity or nutrient deficiency.
Signs Your pH Is Off-Balance
pH problems often manifest as sluggish initial fermentation that never really gets going properly. Unlike temperature-related stalls, which often start strong before stopping, pH-inhibited fermentations typically struggle from the beginning. Your mash might show minimal activity despite proper pitching rates and temperatures.
Other warning signs include unusually foamy fermentations with limited actual sugar conversion, off-aromas like sulfur or vinegar, or a persistent sweetness despite days of apparent activity. Without testing, pH problems can be easily confused with contamination or nutrient deficiencies.

How to Test and Adjust pH Levels
Testing pH doesn’t require expensive equipment. Basic pH test strips available at brewing supply stores will give you readings accurate enough for troubleshooting. For more precision, digital pH meters start around $20-30 and provide exact readings. Test your mash before pitching yeast and again if fermentation seems sluggish.
If your pH is too high (above 5.8), acidify your mash using food-grade phosphoric acid, lactic acid, or even lemon juice in small increments. For excessively acidic mashes (below 3.8), calcium carbonate (chalk) or baking soda can be used to raise pH. Always make adjustments gradually, testing between additions to avoid overshooting your target.
Quick pH Adjustment Guide
Too Acidic (pH below 3.8): Add 1 tsp calcium carbonate per 5 gallons, stir thoroughly, and retest after 30 minutes.
Too Alkaline (pH above 5.8): Add 1 tsp lactic acid per 5 gallons, stir thoroughly, and retest after 30 minutes.
3. Your Yeast Is Starving: Nutrient Deficiency
Yeast requires more than just sugar to thrive. Just like humans need vitamins and minerals, yeast needs nitrogen, phosphorus, zinc, magnesium, and various other micronutrients to build cell walls, produce enzymes, and effectively ferment sugars. When these nutrients are depleted, fermentation slows and eventually stops, even when plenty of sugar remains.
Sugar washes are particularly prone to nutrient deficiencies since refined sugar contains virtually no nutrients. Grain-based mashes provide more natural nutrients but can still become deficient in high-gravity fermentations. The higher your starting gravity, the more nutrients your yeast will need to complete fermentation.
Essential Nutrients Yeast Needs for Healthy Fermentation
The most critical nutrient for yeast health is nitrogen, specifically Free Amino Nitrogen (FAN) and other forms of Yeast Available Nitrogen (YAN). Without sufficient nitrogen, yeast cannot synthesize the proteins needed for growth and enzyme production. Phosphorus, zinc, and magnesium also play crucial roles in yeast metabolism and stress tolerance. Understanding these nutrients is essential for anyone looking to make infused moonshine successfully.
Vitamins, particularly from the B complex, act as cofactors for important enzymatic reactions within yeast cells. Biotin, pantothenic acid, and thiamine are especially important for maintaining fermentation vigor in high-stress environments like high-sugar mashes.
Common Signs of Nutrient-Starved Mash
Nutrient-deficient fermentations typically start strong but peter out prematurely. You’ll observe vigorous initial bubbling that slows dramatically around the 1/3 to 1/2 way point through sugar conversion. The specific gravity drops initially but stalls well above the expected final gravity. This pattern occurs because yeast consumes its internal nutrient reserves first, then slows or stops when these are depleted.
Sulfur odors (rotten egg smell) are another common indicator of nutrient stress, particularly nitrogen deficiency. Your mash might also develop a stressed yeast aroma that’s distinctly different from the usual clean, slightly fruity smell of healthy fermentation. For those interested in the history behind these processes, you might find it fascinating to explore moonshine history.
Best Nutrient Additives to Kickstart Stuck Fermentation
If you suspect nutrient deficiency is causing your stalled fermentation, adding the right nutrients can often revive activity within 24-48 hours. Commercial yeast nutrients like Fermaid K, Yeast Energizer, or DAP (diammonium phosphate) provide balanced nutrition specifically formulated for fermentation. For emergency situations, I’ve found that a combination approach works best—add both nitrogen sources and micronutrients simultaneously.
For a standard 5-gallon mash, add 1 teaspoon of DAP and 1 teaspoon of yeast nutrient blend, thoroughly dissolved in a small amount of boiled water (cooled to room temperature). Remember that adding nutrients to a completely stalled fermentation may not work if other factors like alcohol toxicity are also present. Nutrient additions work best when fermentation is sluggish but not completely stopped. If you’re interested in experimenting with different flavors, you might also want to try a grape moonshine recipe.
In a pinch, you can create a homemade nutrient blend by boiling a handful of raisins for 10 minutes, cooling the liquid, and adding it to your fermenter. Raisins are naturally high in many micronutrients yeast needs. Another emergency option is adding a crushed multivitamin tablet (uncoated) along with a pinch of Epsom salt to provide magnesium. For more tips on resolving fermentation issues, check out this guide on fixing a stuck fermentation.
4. Alcohol Toxicity Has Killed Your Yeast
Every yeast strain has an alcohol tolerance limit—a point beyond which the rising alcohol concentration becomes toxic to the yeast cells. When your mash reaches this threshold, fermentation will stop regardless of how much sugar remains or how perfect your other conditions are. This is a fundamental biological limitation that varies by yeast strain.
Alcohol toxicity stalls are common in high-gravity mashes where the potential alcohol exceeds the yeast’s tolerance level. The frustrating part is that these stalls happen when you’re tantalizingly close to completion, often with just 2-3% potential alcohol left unconverted.
Understanding Alcohol Tolerance in Different Yeast Strains
Bread yeast, which many novice distillers use, typically tolerates only 8-10% ABV before struggling. Wine yeasts generally handle 12-14% ABV, while specialized distiller’s yeasts can push to 14-18% ABV. Super-high tolerance strains like Turbo and some champagne yeasts can theoretically reach 20% ABV or higher under perfect conditions.
However, actual performance rarely matches the manufacturer’s claims. Environmental stressors like temperature fluctuations, nutrient deficiencies, and pH imbalances can reduce alcohol tolerance by 2-4% from the theoretical maximum. This means your “18% tolerance” yeast might actually quit around 14-16% if conditions aren’t optimal throughout fermentation. For more insights on this, check out how to fix a stuck fermentation.
How to Tell If Your Mash Has Hit Alcohol Limits
Alcohol-limited fermentations follow a predictable pattern: steady, normal fermentation that gradually slows and then completely stops despite maintaining proper temperature. The key indicator is calculating the approximate current alcohol content from your original and current gravity readings. If you started at 1.100 specific gravity and stalled at 1.020, you’ve produced about 10.5% ABV—possibly nearing the limit for your yeast strain.
Another telltale sign is that attempts to restart fermentation with nutrient additions, temperature adjustments, or rousing the yeast have minimal or temporary effects. If your mash quickly returns to inactivity after these interventions, alcohol toxicity is likely the culprit.

Choosing High-Tolerance Yeast for Better Results
Prevention is your best strategy when dealing with potential alcohol toxicity. Match your yeast strain to your mash gravity from the beginning. For traditional corn mashes with moderate gravity (1.060-1.080), DADY (Distiller’s Active Dry Yeast) or a quality wine yeast like Lalvin EC-1118 provides reliable performance with good alcohol tolerance. If you’re curious about the different types of alcohol, check out what are the six types of alcohol to expand your knowledge.
For high-gravity sugar washes approaching 1.100 or higher, specialized high-tolerance yeasts like Turbo 48, Still Spirits Triple Distilled, or Fermentis SafSpirit HG-1 are designed specifically to handle elevated alcohol levels. These strains also tend to be more resilient against other stressors, giving you a wider margin for error in other aspects of your process. If you’re interested in learning more about the historical context of these techniques, you might find the moonshine history quite fascinating.
| Yeast Type | Typical Alcohol Tolerance | Best Used For |
|---|---|---|
| Bread Yeast | 8-10% ABV | Emergency use only, low-gravity washes |
| Beer Yeast | 8-12% ABV | Grain-based whiskey mashes |
| Wine Yeast | 12-14% ABV | Fruit mashes, moderate sugar washes |
| Distiller’s Yeast | 14-18% ABV | All-purpose moonshine mashes |
| Turbo Yeast | 18-20% ABV | High-gravity sugar washes |
5. Contamination Has Taken Over Your Mash
“History of Moonshine: Unraveling the …” from regenerationdistilling.com and used with no modifications.
Bacterial or wild yeast contamination can hijack your fermentation by competing with your cultured yeast for nutrients and sugar. Some contaminants also produce compounds toxic to your brewing yeast. Once competing microorganisms gain a foothold, they can quickly outpace your intended yeast strain and cause fermentation to slow or stop entirely.
Contamination problems are more common in warm weather and in grain-based mashes, which naturally carry more wild microbes than sugar washes. Open fermentation vessels or inadequate sanitization practices significantly increase contamination risks.
Common Contaminants in Moonshine Fermentation
Lactobacillus bacteria are among the most common contaminants, creating a distinct sour smell and taste while producing lactic acid that can lower pH beyond your yeast’s comfort zone. Wild yeast strains like Brettanomyces can produce medicinal, plastic, or barnyard aromas that carry over into your final spirit.
Acetobacter, which converts alcohol to acetic acid (vinegar), is particularly problematic as it directly reduces your alcohol yield and creates harsh flavors. These bacteria thrive when oxygen is introduced to a partially fermented mash, which is why maintaining airlocks and minimizing headspace becomes increasingly important as fermentation progresses.
Visual and Smell Tests for Contamination
Contaminated mashes often develop unusual surface features like white, green, or blue patches of mold, a greasy-looking film, or stringy, mucus-like strands. The smell is your most valuable detection tool—healthy fermentation should smell yeasty, slightly fruity, or beer-like. Infected mashes develop distinctly unpleasant aromas: vinegar, rotten vegetables, sulfur, vomit, or nail polish remover.
Taste testing, while not always advisable for safety reasons, can also reveal contamination. Sour, medicinal, or intensely bitter flavors that weren’t present in your ingredients are strong indicators of microbial contamination. Trust your senses—if something smells or looks wrong, it probably is. For more insights on ensuring quality, check out our guide on when to stop distilling.
Can You Save a Contaminated Mash?
Minor contamination can sometimes be overcome by creating conditions that favor your cultured yeast over the contaminants. Adjusting pH back to the ideal range (4.2-4.8), increasing temperature to the upper end of your yeast’s comfort zone, or adding a fresh, vigorous yeast starter might tip the balance back in your favor.
For visible mold contamination, however, most experienced distillers recommend discarding the batch. While the distillation process will kill microbes, it won’t necessarily remove all toxins or off-flavors produced by certain molds. The old distiller’s wisdom holds true: “When in doubt, throw it out.” Your health is worth more than a few dollars of ingredients.
How to Restart a Stalled Fermentation
Once you’ve diagnosed the likely cause of your stuck fermentation, it’s time to take action to rescue your mash. The restart procedure varies somewhat depending on the underlying problem, but several core techniques apply in most situations. Remember that the sooner you address a stalled fermentation, the better your chances of recovery. If you’re interested in exploring other aspects of moonshine, you might want to learn about the six types of alcohol and how they can impact your brewing process.
Start by addressing the specific environmental issues you’ve identified—temperature, pH, or contamination. Then prepare to reintroduce fresh, active yeast to kickstart sugar conversion. This two-pronged approach gives you the best chance of salvaging a troubled batch.
Step-by-Step Restart Procedure
- Fix the environment first: Adjust temperature to 70-75°F (21-24°C), correct pH issues, and add nutrients if needed. Let the mash stabilize for 12-24 hours.
- Take a gravity reading to determine how much fermentation remains to be completed.
- Vigorously aerate the mash by stirring with a sanitized spoon to drive off CO₂ and introduce oxygen.
- Prepare a restart yeast at 2-3 times normal pitching rate (instructions below).
- Gradually acclimate the restart yeast to the stalled mash by adding small amounts of the mash to your starter over 30 minutes.
- Add the entire acclimated starter to your main fermenter.
- Monitor closely for 48 hours for signs of renewed activity.
If you see no activity after 48 hours of these interventions, your fermentation may be beyond rescue, particularly if alcohol toxicity is the underlying cause. At this point, you’ll need to decide whether to distill what you have or start over.
Creating a Strong Yeast Starter
A powerful restart starter can overcome many fermentation problems. Begin with 1 quart of water per 5 gallons of stuck mash. Add 1/2 cup of sugar or malt extract and 1 teaspoon of yeast nutrient, then boil for 5 minutes. Cool to 95°F (35°C), then add a fresh packet of high-tolerance yeast—preferably a different strain than your original pitch.
Allow this starter to ferment vigorously for 12-24 hours before beginning the acclimation process. The key is creating an extremely active, healthy yeast population before introducing it to the stressed environment of your stalled mash. For tough restart situations, consider using a specialized “restart” yeast like Uvaferm 43 or Lalvin EC-1118, both known for their ability to ferment in difficult conditions.
When to Cut Your Losses and Start Over
Sometimes, a fermentation is beyond saving. If your mash shows signs of heavy mold contamination, smells putrid or like acetone, or has developed unusual colors or textures, it’s safer to discard it and start fresh. Similarly, if you’ve determined your mash has reached its alcohol tolerance limit with substantial remaining sugar, attempting a restart may waste more resources than it saves.
Preventing Future Fermentation Problems
The best solution to stalled fermentation is preventing it in the first place. After rescuing (or discarding) a troubled batch, take time to review your process and implement preventative measures. Most fermentation problems stem from a handful of common mistakes that can be easily corrected with some attention to detail.
Investing in basic equipment and developing consistent procedures pays enormous dividends in more reliable fermentations and better-tasting final spirits. For more insights on maintaining fermentation, you might find this discussion on mash fermentation issues helpful. Let’s look at the most impactful preventative measures you can implement.

Equipment Sanitization Techniques
Effective Sanitization Routine
1. Clean all equipment with unscented detergent and hot water
2. Rinse thoroughly to remove all soap residue
3. Apply a no-rinse sanitizer like Star San or iodophor
4. Allow at least 2 minutes contact time before draining
5. Do not rinse after sanitizing
Proper sanitization is your first defense against contamination. The two-step process of cleaning followed by sanitizing is crucial—sanitizers work poorly on dirty surfaces. For moonshine equipment, I recommend Star San as your primary sanitizer. It’s effective, doesn’t require rinsing, and leaves no flavors behind when used properly.
Pay special attention to items that are hard to clean thoroughly, such as airlocks, tubing, and spigots. These narrow spaces can harbor bacteria and wild yeast even when they appear clean. Regular disassembly and deep cleaning of these components prevents buildup of contaminants that can spoil multiple batches.
Remember that sanitizing isn’t just about your fermentation equipment—your ingredients matter too. Consider adding campden tablets (potassium metabisulfite) to fruit or grain mashes 24 hours before pitching yeast to knock down wild microbes that naturally occur on these ingredients.
Perfect Your Mash Recipe Ratios
Balanced recipes are less prone to fermentation problems. For grain mashes, maintain a proper grain-to-water ratio—typically 2 pounds of grain per gallon of water for corn mash. For sugar washes, avoid exceeding 2 pounds of sugar per gallon unless you’re specifically using high-gravity yeast strains with appropriate nutrient supplementation.
Fermentation Monitoring Tools Worth Buying
Invest in tools that let you monitor fermentation progress accurately. A good hydrometer is non-negotiable—it’s your window into what’s actually happening in your mash beyond what you can see or smell. A floating thermometer allows constant temperature monitoring, helping you catch temperature problems before they affect your yeast.
For more serious distillers, consider pH test strips or an inexpensive digital pH meter. These tools help you identify pH problems early when they’re still easy to correct. A basic record-keeping system—even just a notebook by your fermenter—helps track patterns across multiple batches and identify which variables most affect your success rate. If you encounter issues like a mash that stopped bubbling, understanding these variables can be crucial.
The Final Drop: Getting It Right Next Time
Successful moonshine fermentation is a balance of science, patience, and attention to detail. By understanding the common causes of fermentation problems, you’ll be better equipped to diagnose issues quickly and apply the right solutions. Remember that each batch teaches valuable lessons that improve your skills as a distiller.
Start by focusing on the fundamentals: proper temperature control, appropriate yeast selection for your recipe, adequate nutrition, and scrupulous sanitation. These four pillars support successful fermentation more than any advanced technique or specialty ingredient. For those interested in exploring different recipes, consider trying a grape moonshine recipe to experiment with flavors and fermentation techniques.
When problems do arise, approach troubleshooting methodically. Take measurements, make one change at a time, and observe the results before making additional adjustments. This scientific approach prevents the common mistake of overcorrecting and potentially creating new problems while trying to solve the original one.
Frequently Asked Questions
After helping countless distillers troubleshoot their fermentation problems, I’ve noticed several questions that come up repeatedly. Here are straightforward answers to the most common concerns about stalled moonshine fermentations.
Can I still distill a mash that stopped fermenting too early?
Yes, you can distill a partially fermented mash, but your alcohol yield will be lower than expected. The unconverted sugars won’t become alcohol during distillation, so you’ll essentially lose that potential output. Additionally, stalled fermentations often contain higher levels of undesirable compounds that can affect flavor. If your mash stalled at a reasonably high alcohol content (above 8% ABV), distilling is usually worth the effort. For very early stalls, the yield might be too low to justify the time and energy of distillation. If you’re unsure about the right time to stop, here’s a guide on when to stop distilling.
How long should a typical moonshine fermentation take?
Most moonshine fermentations complete their primary, vigorous phase in 3-7 days, depending on recipe, temperature, and yeast strain. Total fermentation, including the slower finishing phase, typically takes 7-14 days for complete sugar conversion. Sugar washes generally ferment faster than grain mashes, often completing in 5-7 days under ideal conditions.
Turbo yeasts advertise faster timeframes (48-72 hours), but these accelerated schedules often come at the cost of flavor quality. For the best balance of efficiency and flavor, expect to allow 7-10 days for complete fermentation of most moonshine recipes.
Should I stir my mash if fermentation stalls?
Gentle stirring can help revive a sluggish fermentation, particularly in grain mashes where yeast can settle below the grain bed. Stirring reintroduces yeast to available sugars, releases trapped CO₂ that might be inhibiting activity, and redistributes nutrients throughout the mash. However, stirring introduces oxygen, which can be detrimental later in fermentation. If your fermentation is more than 50% complete, limit stirring to gentle rousing of settled yeast rather than vigorous aeration.
What’s the difference between a slow fermentation and a stuck fermentation?
- Slow fermentation shows continuous, measurable gravity changes over time, just at a reduced rate. The hydrometer reading will drop 1-2 points every day or two.
- Stuck fermentation shows no measurable gravity change over 2-3 days despite remaining well above the expected final gravity.
- Completed fermentation reaches a stable final gravity appropriate to your recipe and remains unchanged for 3+ days.
Slow fermentations generally don’t require intervention—just patience. They’ll eventually reach their proper final gravity if the environment remains suitable. Genuinely stuck fermentations, however, won’t resolve themselves without addressing the underlying issue.
Temperature plays a major role in fermentation speed. A mash at 65°F might take twice as long to complete as the same mash at 75°F. Before assuming your fermentation is stuck, verify that your expectations about timing are realistic for your current conditions.
The most reliable way to distinguish between slow and stuck fermentations is taking daily hydrometer readings. Numbers don’t lie, while visual cues like airlock activity can be misleading.
Can adding more sugar restart a stalled fermentation?
No, adding more sugar typically won’t restart a stalled fermentation and often makes the problem worse. If your yeast has stopped working due to stress, nutrient deficiency, or alcohol toxicity, adding sugar simply increases osmotic pressure and creates additional stress.
The one exception is very low-gravity fermentations (below 1.020) that might have simply run out of fermentable sugar. In this case, the fermentation isn’t actually stalled—it’s finished. You can verify this by checking if the gravity reading matches the expected final gravity for your recipe.
If you want to increase alcohol content in a completed fermentation, the proper approach is to add the additional sugar along with fresh, acclimated yeast and necessary nutrients. Essentially, you’re starting a new fermentation on top of the completed one, not restarting the original process.
For the best moonshine results, focus on achieving complete fermentation of a properly designed recipe rather than trying to push beyond your yeast’s natural limits through sugar additions.
If your moonshine mash has stopped bubbling, it could be due to a variety of reasons such as temperature fluctuations, yeast issues, or nutrient deficiencies. Understanding the underlying cause is crucial to getting your fermentation back on track. For more detailed troubleshooting, you might find this discussion on mash fermentation helpful.